

When not trying to recover from my exhausting day-job, the majority of my free time is devoted to writing blog posts, reading, and slowly working on my other writing. But, as you could tell by the fact I once had a second blog solely devoted to it, my free-time is often interrupted by video games. And, whenever Overwatch releases a new event, then that's a whole month of my free time gone. This new event, 'Uprising,' is no exception; and I've been playing nothing but it for a week now.
Though, competitive mode is currently broken because of how the capture system works, and how it's impossible to rank up as a healer. You only gain around 20 SR as a healer per win, whereas you're likely to lose around 30 SR per loss. Bear in mind that with Overwatch, a 60% win rate is something only Master/Grandmaster tier players can consistently achieve. Plus McCree's aim-system is bugged, Pharah is overpowered, the 'fire' system screws Ana over, and the new hero, Orisa, still needs some work before she's a viable pick (though she's in a better place than Sombra was at launch).
I think 'Uprising' is this game's equivalent of Donald Trump. Except Trump's threatening global war to distract from how shit he is, whilst Overwatch is being awesome to compensate for key aspects of the base game needing a re-think. Which is interesting since this new Player vs Environment (PvE) mode disturbingly takes themes floating around in current consciousness. For one, it's about a terrorist attack in London. Another; it's about how a minority group is being oppressed to the point that extremism is the only course of action. It's also about how the Prime Minister is a complete idiot.
But, the whole reason why I spent all week playing this instead of writing my usual blog post is because this is escapism at it's finest. We have a world eerily similar (yet totally different) to my own, yet unlike reality there's actually a way to solve things; and it involves teaming up with a German beefcake, a Swedish death-builder, a Swiss guardian angel, and a lesbian cockney with the power to manipulate time.
WHAT IS IT?

It is London in the future. (See; this game is already optimistic because it assumes civilisation will survive beyond 2020.) In the aftermath of a war between robots (or 'Omnics') and humans, both factions have made peace and now wish to co-exist in harmony. However, this has merely resulted in robots being pseudo slaves who're severely oppressed by an unwelcoming human society. An extremist group of robots called 'Null Sector' creates even more robots...somehow, to wage war against London - with the possibility of expanding across the globe. So, it's up to Overwatch: a division set up to police human/Omnic relations, to do the very thing they were created to do. So this isn't exactly the most heroic deed in the world considering this is, you know, their job.
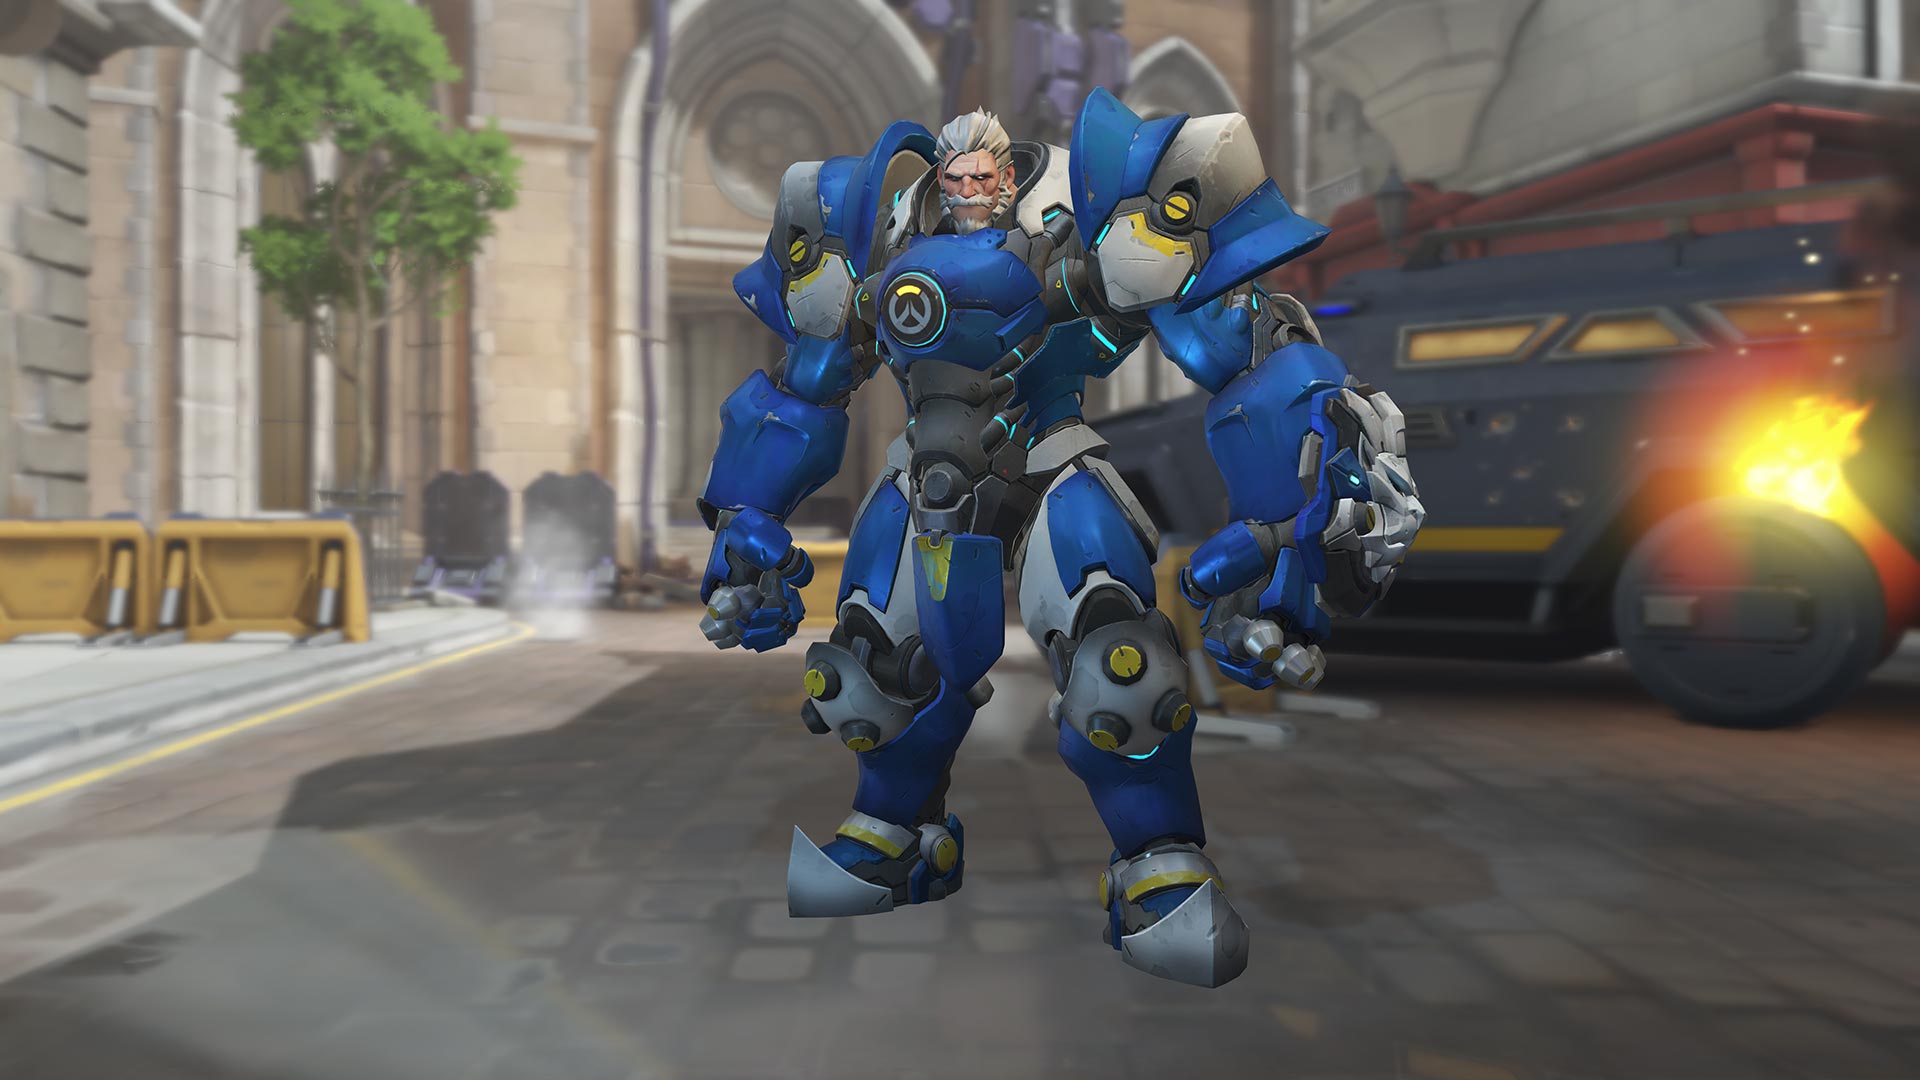
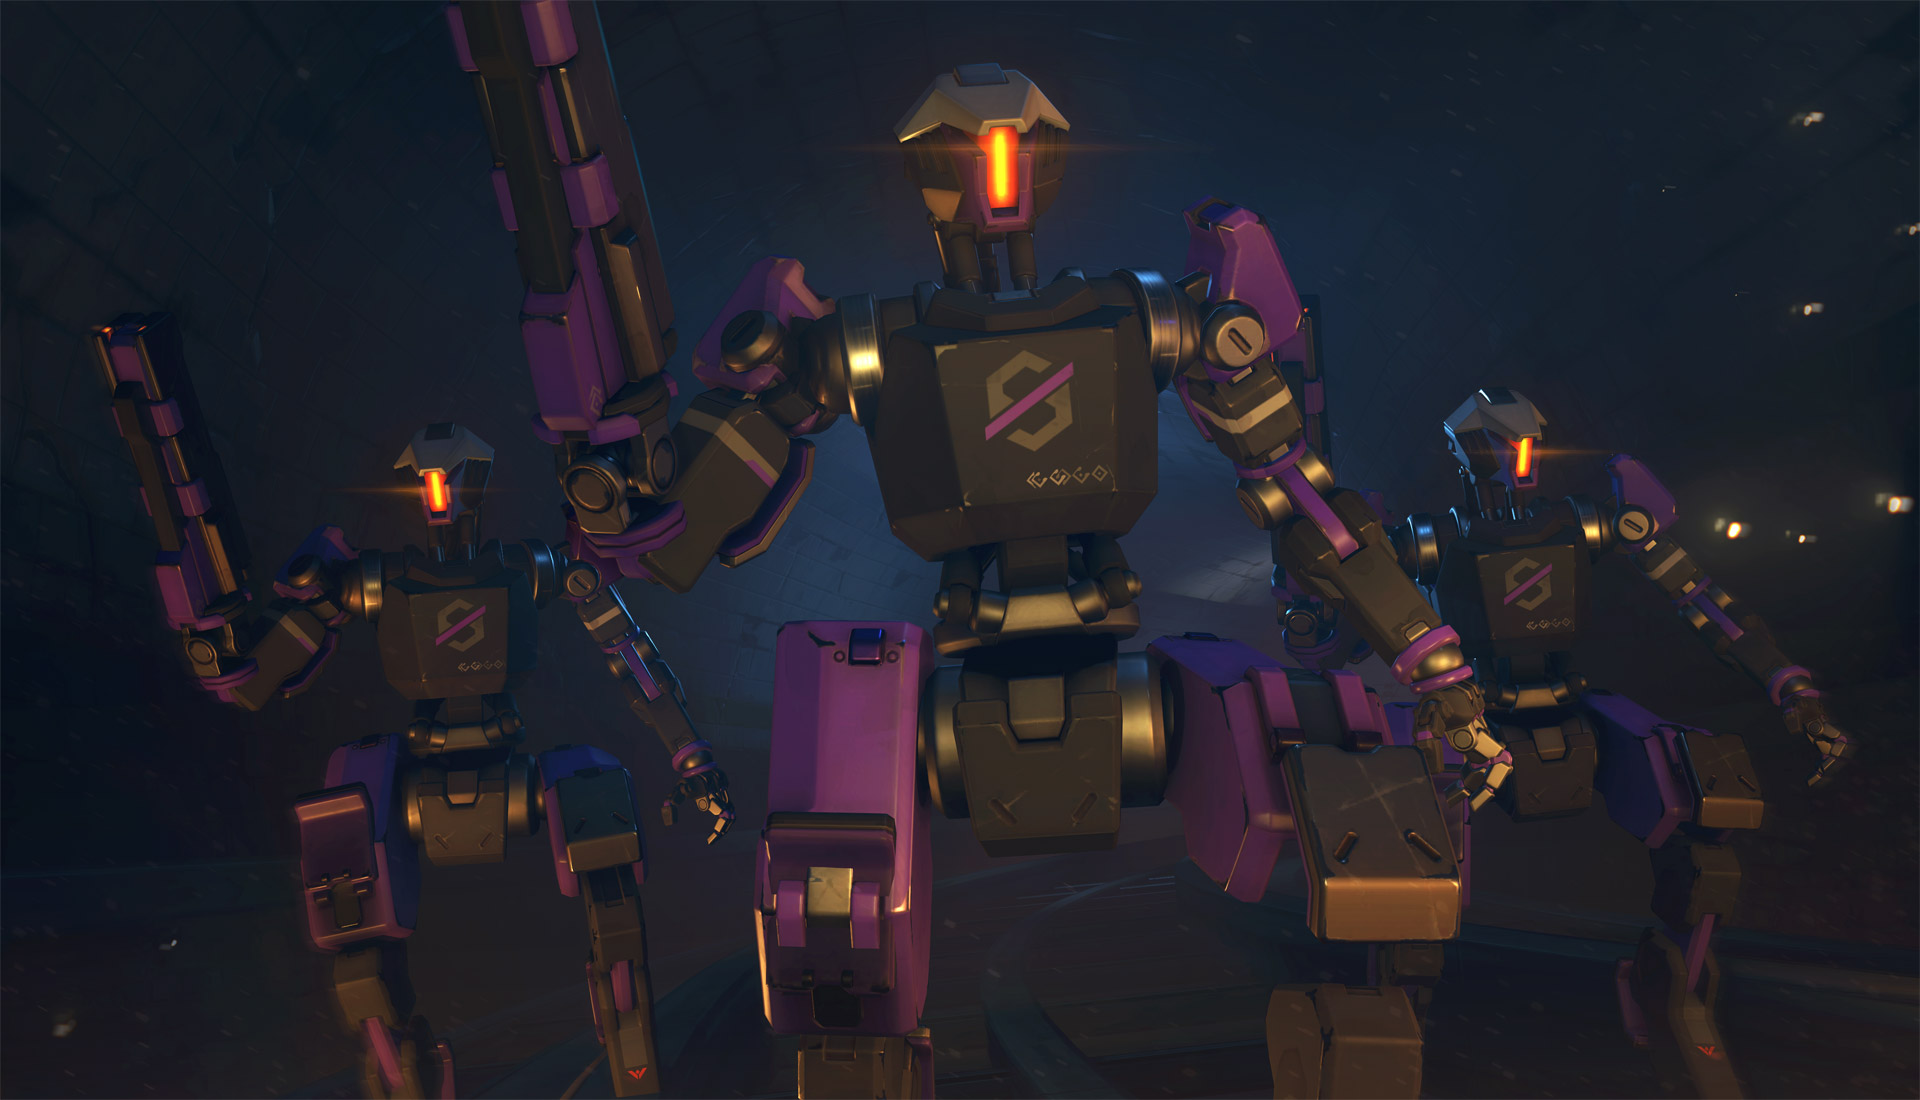
Lore aside, 'Uprising' is a PvE mode where you and other real-life human beings play four heroes (Tracer/Reinhardt/Torbjörn/Mercy) from the Overwatch pool to battle against a variety of fabulously purple AI-controlled enemies that're both new and modified versions of other heroes (namely Bastion and Orisa. I'm disappointed there's no modified Zenyatta). It's basically a World Of Warcraft dungeon that takes place within the Overwatch engine, and as with the excellent Junkenstein's Revenge (which I hope I'll get the chance to play again one day), is surprisingly addictive. It takes the tightly-focused and expertly rounded gameplay of Overwatch and dumps it within an actual narrative. You're not just being teabagged by slightly better looking clones of yourself.
If you die, you can be revived by any teammate if they stand near you and press the button prompt. Manually reviving takes a few seconds however, whilst Mercy's Resurrection can bring back multiple dead teammates instantly as well as providing Mercy with brief window of invulnerability. If you leave a dead teammate down for thirty seconds without trying to revive him/her then the mission's over. You can also fail if everyone's wiped out, or if the payload is destroyed. Victory is only achieved by completing the final objective.
TIPS:

Obviously, you need to know how to play Overwatch. This mode assumes you know how the game's mechanics work, and assumes you have knowledge of Tracer, Reinhardt, Torbjörn, and Mercy. If you don't know how to play all four of these heroes then you'll need to practice outside this mode. Tracer is probably the hardest of the four. Mercy's the second hardest, but Torbjörn and Reinhardt are joint third. (Both are deceptive. Many Torbjörn's think you just sit there hammering your turret, and Ana actually makes a joke about how so many Reinhardt players charge in by themselves.)
There are four difficulties: Normal, Hard, Expert, and Legendary. Actually, Normal is fairly easy. Hard can occasionally catch you off-guard. Expert is a challenge. Legendary is almost impossible, and I have yet to conquer it. I imagine you'll need three friends who happen to be Rein/Torb/Tracer/Mercy mains, you all need to be constantly communicating, and you need to stock up on energy drinks. (Though I've got the achievement for playing all four; I consider myself good at Mercy/Torb, competent at Rein, and OK-ish with Tracer.)
There are some basic tips that apply to everyone, though:
- Nothing is just one person's job. If you notice something needs to die; then kill it.
- The worst thing you can do is die miles away from your teammates. Stay as a group.
- You charge Ultimate super-quick in this mode. As such, it's almost impossible to 'waste' it unless you're on Legendary and you know a tricky fight's coming up. If you're about to get wiped then just pop it.
- Don't immediately run to a teammate if they die. Try to clear the area first or else you'll end up in a hilariously compromising position when you die too.
- Whilst you should always protect Mercy in any walk of life, everyone deserves your protection.
- Don't be afraid to use the 'I Need Healing' voice-command. With all the action going on, it can get difficult for the Mercy to keep track.
- Every time a bot spawns by dropping from the sky, there's a brief window where they can take damage, but aren't able to deal it. Exploit this whenever you can.
- Once you've finished the 'Payload' stage, all bots still standing will die. If there's 30 seconds left and things aren't going well, just hide out in the hotel.
- If you're brave enough to communicate, keep it brief and useful. Some good examples are: "Bastion right." "Die, I've got rez." "Focus the Orisa." "Shield low." "They're behind!" "Armour on point." "Leave the Detonator, I'm gonna charge it away." "Top or Bottom?"
Now, the more specific advice:
Tracer

Whilst in this mode, every target is a priority (and thus everyone should be helping to take them all down) your mobility and high-damage means you should always make a beeline for Eradicator's and Bastions. A useful tactic is to Blink straight through Eradicator's so you can get behind it's shield, but also remember that Blinking can cause an entire group of enemies to become dis-orientated for a few precious seconds. In higher difficulties, this can help keep Mercy from being, or give you a window to escape if low on health.
You can obtain Pulse Bomb even quicker than in the normal game here. Unless you know a Bastion is coming up soon, don't hold onto it. Throw your Bomb at Eradicator's when you can for an easy kill, or just use it on a large clump of Nulltrooper's if you're being overwhelmed. Just make sure you keep your distance once the bomb's been thrown. Dying to your own ult is only slightly less embarrassing than in the base game because you can lie and say the Bastion got you. (There's no kill-feed to prove you wrong.)
Reinhardt
Your hammer should only be swinging when faced with a tight group of lesser foes. Instead, spam Fire Strike if you get bored. Eradicator's will permanently lose their shield if you charge them, so do this whenever it's safe. Make sure, though, that your charge doesn't take you too far away. Use Earthshatter on Bastions, OR-14s, and if you're being overwhelmed by a large group. Don't follow up an Earthshatter with a charge unless you're certain it'll result in a high-value pick. Only attack a Bastion if he's low health or if your team's already engaged, otherwise he'll shred right through you.
On higher difficulties, you can make things a lot easier for yourself and your team if you don't kill the Detonators. Instead, wait until it's about to explode, then charge it away just like with a D.Va ult. This means your team can focus on wiping other enemies, and it's one of those exploits that's not really an exploit.
Mercy
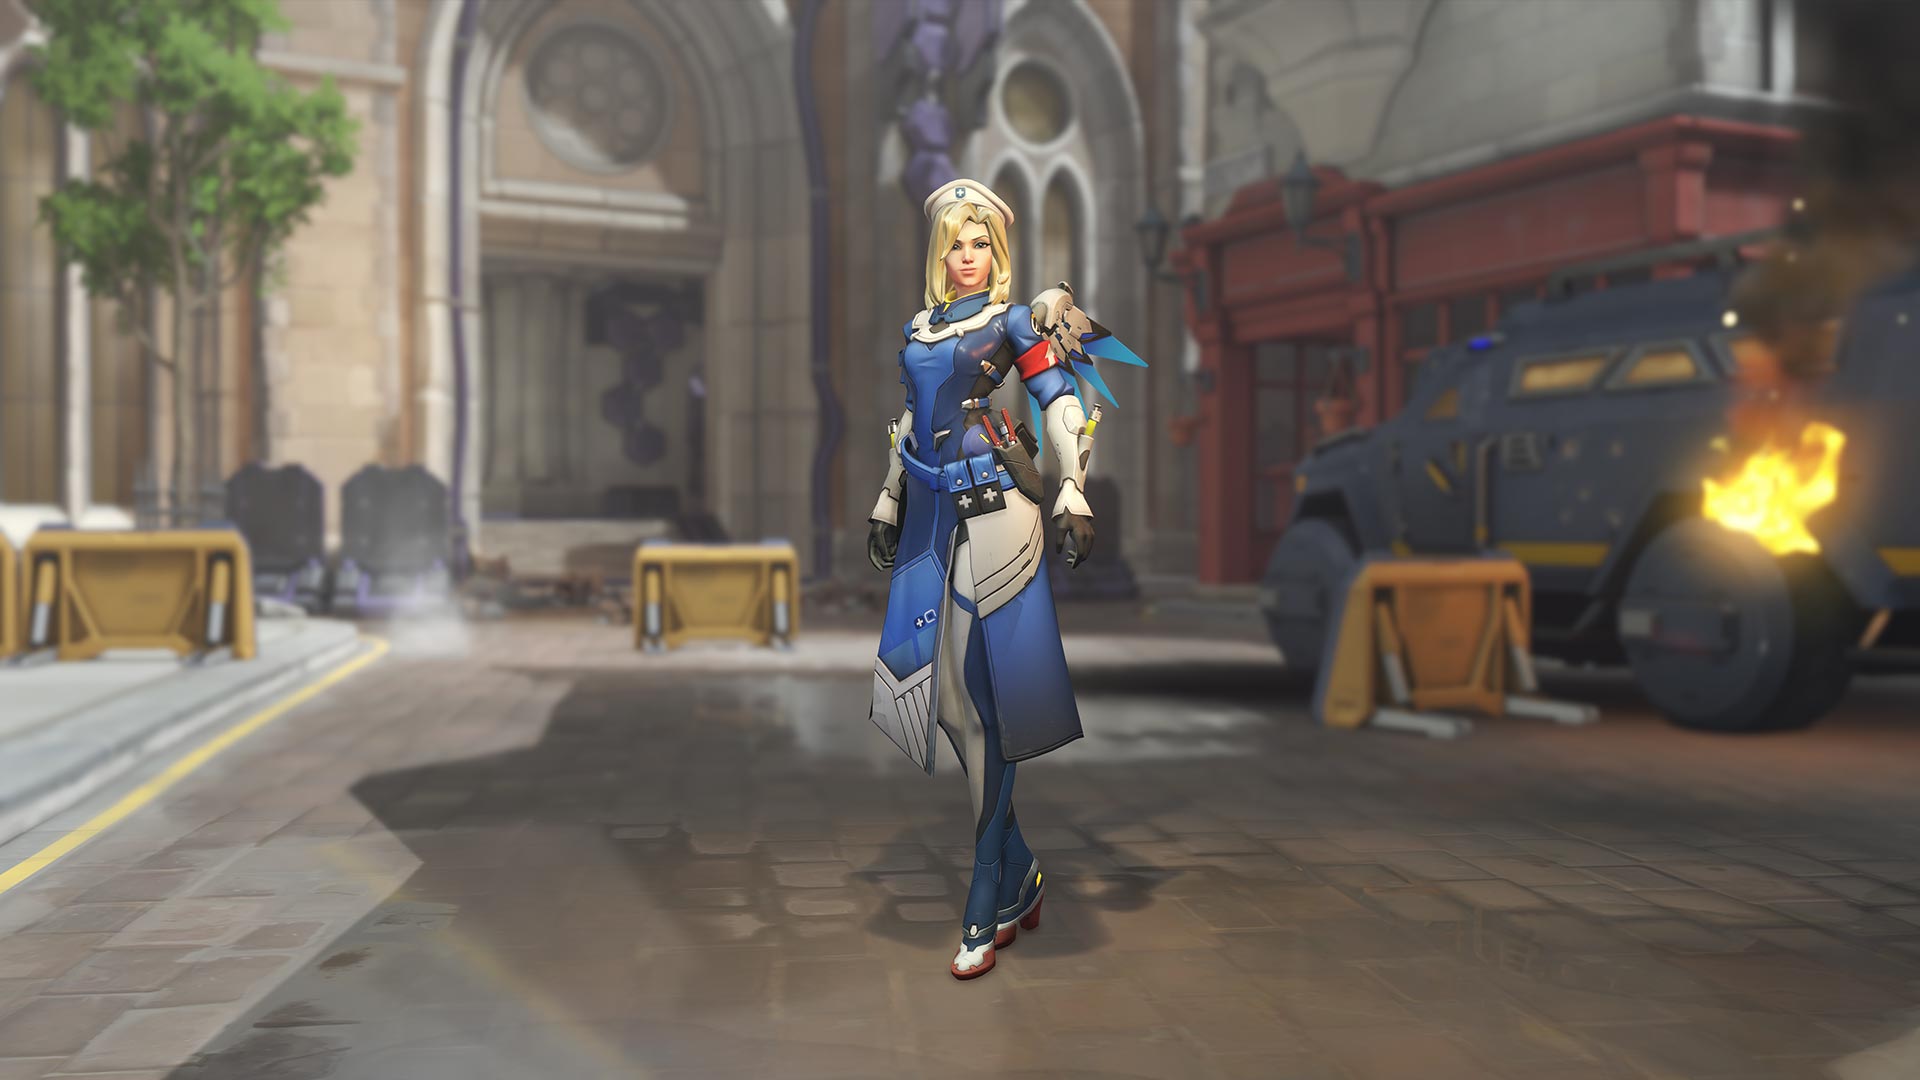
More than any other hero, you must not die or else it'll be difficult for your team to revive you. Stay behind Reinhardt's shield when it's up, peek around cover, use Guardian Angel to escape, and exploit your staff's range to keep away from your healing target. Hog any available armour, and don't let an overly-aggressive teammate lead you into a dangerous situation. If your healing target suicides in, stay back, wait for them to die, then pop ult.
Ideally, you should be pocketing Tracer; but if she goes too far then switch to Reinhardt and wait for her to come back (or die). Use Rein as an ult-farm and only heal Torbjörn if he needs it. Damage-boost Tracer if she has armour, otherwise stick to healing even if she doesn't need it. Damage-boost Reinhardt if he's charging in on full health and you can't get to Tracer. Never boost Torbjörn. He smells. Only take out your pistol if no-one urgently needs healing and there's a Slicer or lone Nulltrooper nearby that no-one's paying attention to. Just be careful, as shooting will draw fire directly to you.
Resurrection is as powerful as ever, but don't bother using it tactically. There's no need to wait for a three-man rez, or feign a push to draw enemy ults. The only 'tactic' is if Reinhardt's under heavy fire and about to die, rezzing is quicker than healing him. Using your ult on just one teammate isn't nearly the sin it is in the base game (though, even then it can sometimes be worth it) and in fact it's much more efficient than using the manual revive. Resurrection's long range means that if Tracer dies in the middle of a large group then you can just slam that button. Again, you build Ultimate so quickly in this mode that it doesn't matter if you 'waste' it.
Torbjörn
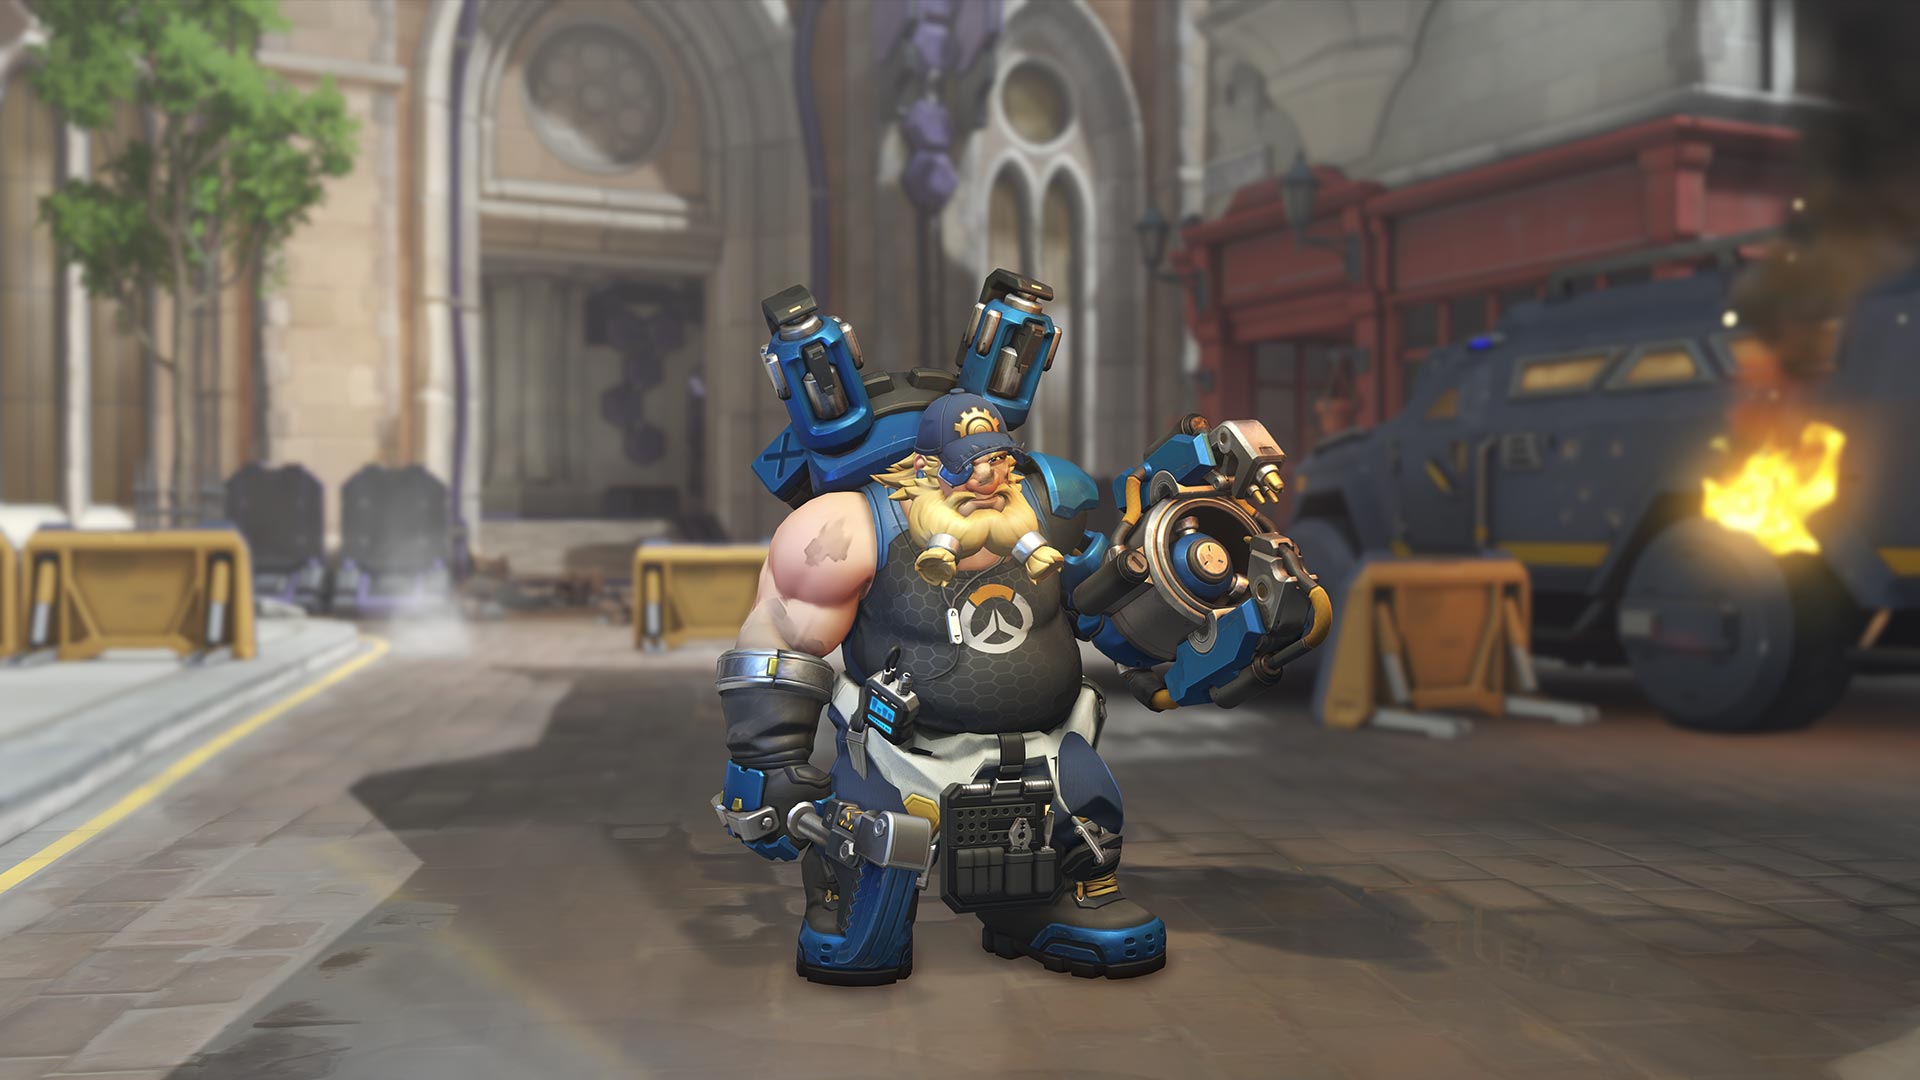
Your turret is a second DPS that cleans up large groups. As with the normal game, Molten Core is a crowd-control ultimate that you want to pop only when faced with a juicy cluster of foes. It can also be used to protect yourself whilst reviving a teammate (if there's no Reinhardt around to shield you). Always keep your turret up, and make sure it's either on the point or on the payload. Try to keep the turret at max health, but let it die if it's being rapidly destroyed (or else you'll end up caught in the crossfire) and don't then try to rebuild it in the same place.
Don't stay near your turret, though. Work around it, and never forget that not only do you have a gun, but it can actually deal a fair bit of damage. Primary fire at distant enemies from cover and secondary-fire when caught at close range. On the other hand, whilst you'll be surprised at Torb's damage-dealing; he's neither a tank or DPS. Don't over-extend, and if you must push forward to pick-off enemies then be sure you have an escape planned. You should never just be standing there watching your turret do all the work, because on higher difficulties that'll never be enough.
BASIC WALK-THROUGH:
There are four stages to this mode: Control Points, Payload, Street, and Evil Orisa Pinball. There are three control points that you need to stand to cap. Once you've done that, everyone needs to stand on the payload. You then need to defend the payload for an agonisingly long amount of time, during which the payload can take damage and even be destroyed (though this is only likely to happen on Legendary). Street is much easier, as you move the Payload down the standard Kings Row route; though, it can still take damage. Finally, you blow through the door to the inner section of the Kings Row map where it's time for Evil Orisa Pinball. This is named because the decor of this area looks like a plain Pinball machine. Oh, and you have to defeat four Evil Orisa's who fire balls.
Control Points:
Point 1:
Charge/blink/guardian angel through the tube. Don't worry about taking damage from the two Nulltroopers at the exit, the other two troopers in the street, and the three on the way to the point. Either set up a turret inside the point, or just outside the left entrance facing the staircase. If the turret's outside then Reinhardt needs to shield it, whilst Torbjörn needs to stay on the point. If the turret's inside then just go wild because this is the first point and if you die now then you need to take a long hard look at your life. (Oh, and if you get Pulse Bomb then use it immediately.)
Point 2:
You should either have ult, or be close to it by now. Regroup, run up the staircase and out the window onto the Eradicator below. Remind your Torbjörn that's what happens to idiots who run into the fight by themselves. Set a turret up in the same place a good Reinhardt would stand on first-point defence in the normal Kings Row map (it's in-between the statue and the right-hand building, scrub). Reinhardt, on the other hand, should stand with his shield up at the same place a bad Reinhardt would on defence (right at the gate, weeb). Smash the first wave out front, and look out for the left. Focus on the right as soon as Ana warns that you're exposed, then clear the front again. Earthshatter through the last wave if it gets too busy. But, unless things go horribly wrong, you should save your ults for...
Point 3:
The fight on the way to the Church can sometimes take people by surprise. Don't rez, just use Pulse Bomb and/or Molten Core before manually reviving anyone caught. (This is why you don't charge ahead, Reinhardt.) Climb on the crates at the back onto the left-hand platform to set up a turret. Stand on the point and wait for them to come in. Don't go outside. Tracer should guard the right-hand staircase, whilst Rein and Torb should slaughter anything that comes in through the front and left. Mercy should stay as far back behind the point as she can. Be free with your ults here.
Payload:
This is where the party gets messy. There'll be some stray bots outside the Church. Don't rush straight for the payload until they're down. Set up a turret directly on the cart, have Reinhardt shield it, and Mercy stand behind said big blue glowy thing. Torbjörn should keep to the right, whilst Tracer should keep mostly to the left. Use the stereotypical phone-box for the only thing anyone uses them for anymore: cover from killer robots.
Only use ult for the first few waves if it gets ugly (really, you want to save everything for the Bastions). Reinhardt should charge the Detonators away as they're about to explode, whilst everyone else needs to wipe out the bots that spawn alongside the Detonator so Rein's not too vulnerable. The first Bastion will come from the right. Use everything you have on him. The next Bastion will come from the left. The final Bastion will come from the right again. Always listen for the sound-cues, and always use everything when he shows up. Once it gets to the 30 second mark, you can hide in the hotel. If someone dies with twenty seconds remaining, then hide and wait until the bots are gone before manually bringing them back. You don't want them to miss young Reaper's sexy voice.
Street:
This part's much easier, though on Legendary difficulty everyone but Reinhardt can die in one hit to the tank-form Bastion's. Leave your turret on the payload. Rein should either stand in front of the turret or in front of the payload. Charge your ults on the first few waves. The first tank-form Bastion will come from the right as you move past the shop. The second from the left where Point 1 was. A third will either come from the tube station or from behind. Tank-form Bastion's are thankfully very loud, so you can hear and call them out before they kill you. As always, save your ults and use them all on the Bastion's as they come. Once it's clear, keep the turret on the payload as both it and everyone else magically survives the explosion.
Evil Orisa Pinball:
Being the final stage, this is obviously the hardest. The biggest mistake I've seen is the team losing patience after all this time (or panicking at the time limit) and just rushing in there guns blazing. Even on the easier difficulties, you'll be ripped apart. Instead, once the door's blown open, stay at the entrance, shield the turret, and focus on the first OR-14. You don't need ults; the OR-14's are only dangerous at the end. Once she's down, head up the walkway on the right and focus on the turret-form Bastion. Then, build a turret where the Bastion was, pop Molten Core if you have it, and focus on the second OR-14. Kill the wave of Eradicators before going left, up to the staircase, and onto the high ground. Dive onto the second turret-form Bastion, using whatever ult you see fit.
On harder difficulties, the two remaining OR-14's will pop a Supercharger. Stay back and wait for it to run out before taking the long-flank past where the second turret-form Bastion was and focusing a third Bastion. If a tank-form Bastion appears, kill it first before staying on the high-ground and dealing with the third OR-14. You can then either dive down onto the final OR-14, or double back and take her from the front. Beware a fourth turret-form Bastion on the right, and there may be another tank-form Bastion also. If he shows up, double back and focus him before resuming your attack on the final OR-14. Don't bother with the fourth turret-form Bastion, as killing the last OR-14 will complete the mission regardless of who else is left. I guess you leave him as a "You're Welcome" to the Prime Minister.
'ALL HERO' MODE

Ana - is very powerful if you're running more than one tank. Sleep Dart is useful against Bastion's and Detonators. Nano-nade stops Bastion being able to heal through everything, and Nano-Boost is better than ever.
Bastion - is by far the best hero for this mode. It makes sense that the best counter to all the Bastions...is a Bastion. So long as there's a tank and healer to protect him, he can completely shred through entire waves. You don't even need skill. Just set up where you'd place Torbjörn's turrets, hold down 'fire,' and aim roughly where the enemy is.
D.Va - I like to think of her as 'Tracer in a mech' when it comes to 'Uprising.' Her short-range damage is less, but she's even more mobile, she has more health, she can block incoming damage, she can knock enemies back, and Self Destruct is like Pulse Bomb except a hundred times more powerful. Just...don't lose your mech...
Genji - can hard-counter turret-form Bastion, as well as be able to handle large groups of lesser enemies. Dragonblade slices through everything, and whilst waiting for that you can spam Swift Strike to turn 'Uprising' into a beat-em-up game. You'll need someone else to deal with the Eradicators, OR-14's, and tank-form Bastions though.
Hanzo - works on easier difficulties, but simply cannot deal enough rapid damage to handle large waves on the harder difficulties unless you're a Hanzo God. Dragonstrike is spectacularly lethal however, since bots don't notice the twin-dragons slowly spinning towards them.
Junkrat - is underrated. His splash-damage decimates tight groups of Nulltroopers, his Concussion Mine knocks large targets back, and Rip-Tire is ridiculous. Even just spamming grenades at large targets can plough through them.
Lucio - handles himself well, and can carry three DPS's. His healing simply isn't enough to deal with the higher difficulties, though. Sound Barrier is fairly useless, and there's no need for Speed Boost since the majority of 'Uprising' revolves around holding down an objective.
McCree - has the same problem as Hanzo. He's great if you're a McCree main, but otherwise won't do as much damage as other heroes. Flashbang isn't useful, though Deadeye ('High Noon') is just as satisfying as it was in Junkenstein's Revenge.
Mei - Ice Wall and Freeze helps against the Bastion's and Detonators, but otherwise Mei isn't viable. Why would you try freezing the robots when you can pick another hero and just kill them all?
Orisa - is an upgrade to Reinhardt in this mode. Her shield works just as well as Rein's in defending your DPS, her Halt ability helps disorientate larger enemies, and Supercharger is a team-wide Mercy damage-boost. Like Bastion, you can also just hold down the 'fire' button until victory is achieved.
Pharah - can completely dominate on Point 1, Point 2, Payload, and Street. It's possible to get through Evil Orisa Pinball with her, but don't even try flying during the last part. A damage-boosted Barrage is lethal against Bastions, but you'll need a Mercy or Ana to heal you during it.
Reaper - works well, mostly because robots for some reason drop souls; so you can just run around holding 'fire' on lower difficulties. He's still viable on Expert with a good healer, mostly due to Death Blossom being so effective.
Roadhog - has a very useful Ultimate (Whole Hog), which knocks back everything; including Detonators and Bastions. Other than that, he's ineffective against large groups. His hook/fire combo is lethal in normal Overwatch, but here where you're facing at least seven enemies at once, it's weak. And, unless you count his cuddly belly, he can't even shield you.
Soldier 76 - is another direct upgrade from Tracer. His damage is roughly the same, but with a longer range, and with Helix Rockets. His Biotic Field helps his durability, and Tactical Visor is amazing.
Sombra - may have less damage than other heroes, but she works well against Nulltroopers, and her hack immobilises Bastion for long enough to be focused by the rest of the team. But, EMP is far less effective than it should be. Viable only in lower difficulties.
Symmetra - I love you, Symmetra. You're just so much fun to play; and you don't disappoint here. I know you're useless in the higher difficulties, but your Shield Generator is a God-send and there's nothing more satisfying than stealing Bastion's Play Of The Game.
Widowmaker - haha no.
Winston - no no NO.
Zarya - is fairly effective. Her bubbles work well to counter Bastion, her regenerating shield helps a lot, and once her weapon's charged up she can dice Nulltroopers up like Sushi. Graviton Surge is pointless, though. There are better tanks for this mode, but there are *cough* *looks above* worse ones.
Zenyatta - is another underrated pick. Whilst Orb of Harmony won't heal enough in higher difficulties, anything hit with Discord will immediately die, especially when combined with a rapid-firing DPS. Transcendence heals through the Bastions, and you can also use it offensively against the final two OR-14s.
 |
| "CEASE YOUR READING" |
No comments:
Post a Comment